Creator Avatar
What's on your mind?Thoughts about Saiso? We'd like to know!
🛠Requests
💭Ideas
❗️Issues
🤔Other
😖
😕
🙂
😍

Submit Feedback🛎

Saiso currently supports React & Next.js projects. Reach out if you want to see Saiso support your ecosystem. Contribution is welcome as Saiso is Open Source!

SAISO

The Low-Code Feedback Widget Powered by Notion.

A plug & play widget and API to gather feedback from your users in seconds. Better development. Focused iterations. Great user satisfaction. Let Saiso handle the rest.

Get started now - it's free
Saiso is Open Source!

How modern solopreneurs & small teams create product-led solutions

Saiso (pronounced 'Say-So') is a feedback widget and API powered by Notion to validate your products with speed. A non-intrusive communication channel that lets your community members and site visitors contribute their feedback toward your product without affecting the user experience.

Plug & Play

Start collecting valuable feedback from your users in seconds.

Multi Purpose

No matter your niche, get your users' views on feature requests, ideas, issues and more.

Low Code

Small yet mighty tool that let's you focus on iteration and is powered by Notion #lowcode.

User Satisfaction

Listen to your community's opinions so that you can build great product-led solutions.

Setting up Saiso

Implement Saiso's widget in 5 simple steps.

1. Create a Notion database

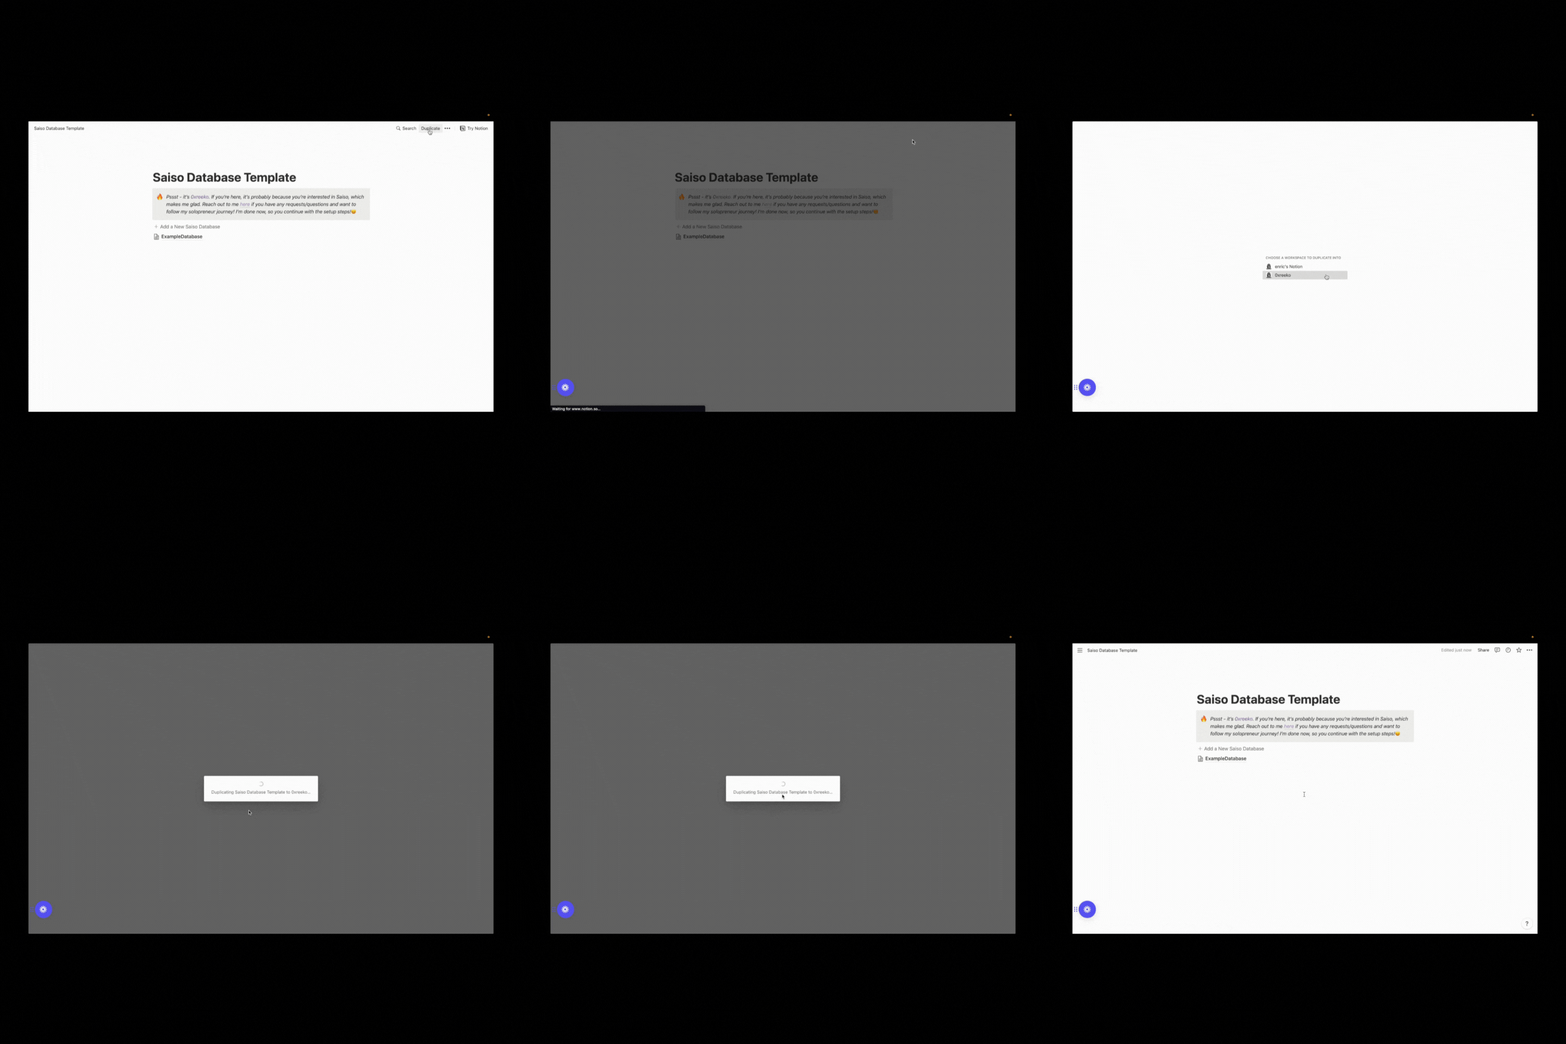
Click here to copy the Saiso Database Template to your Notion account - you'll have to create one if you don't have one already. Click Duplicate to clone the database.

saiso step one

2. Create a Notion integration

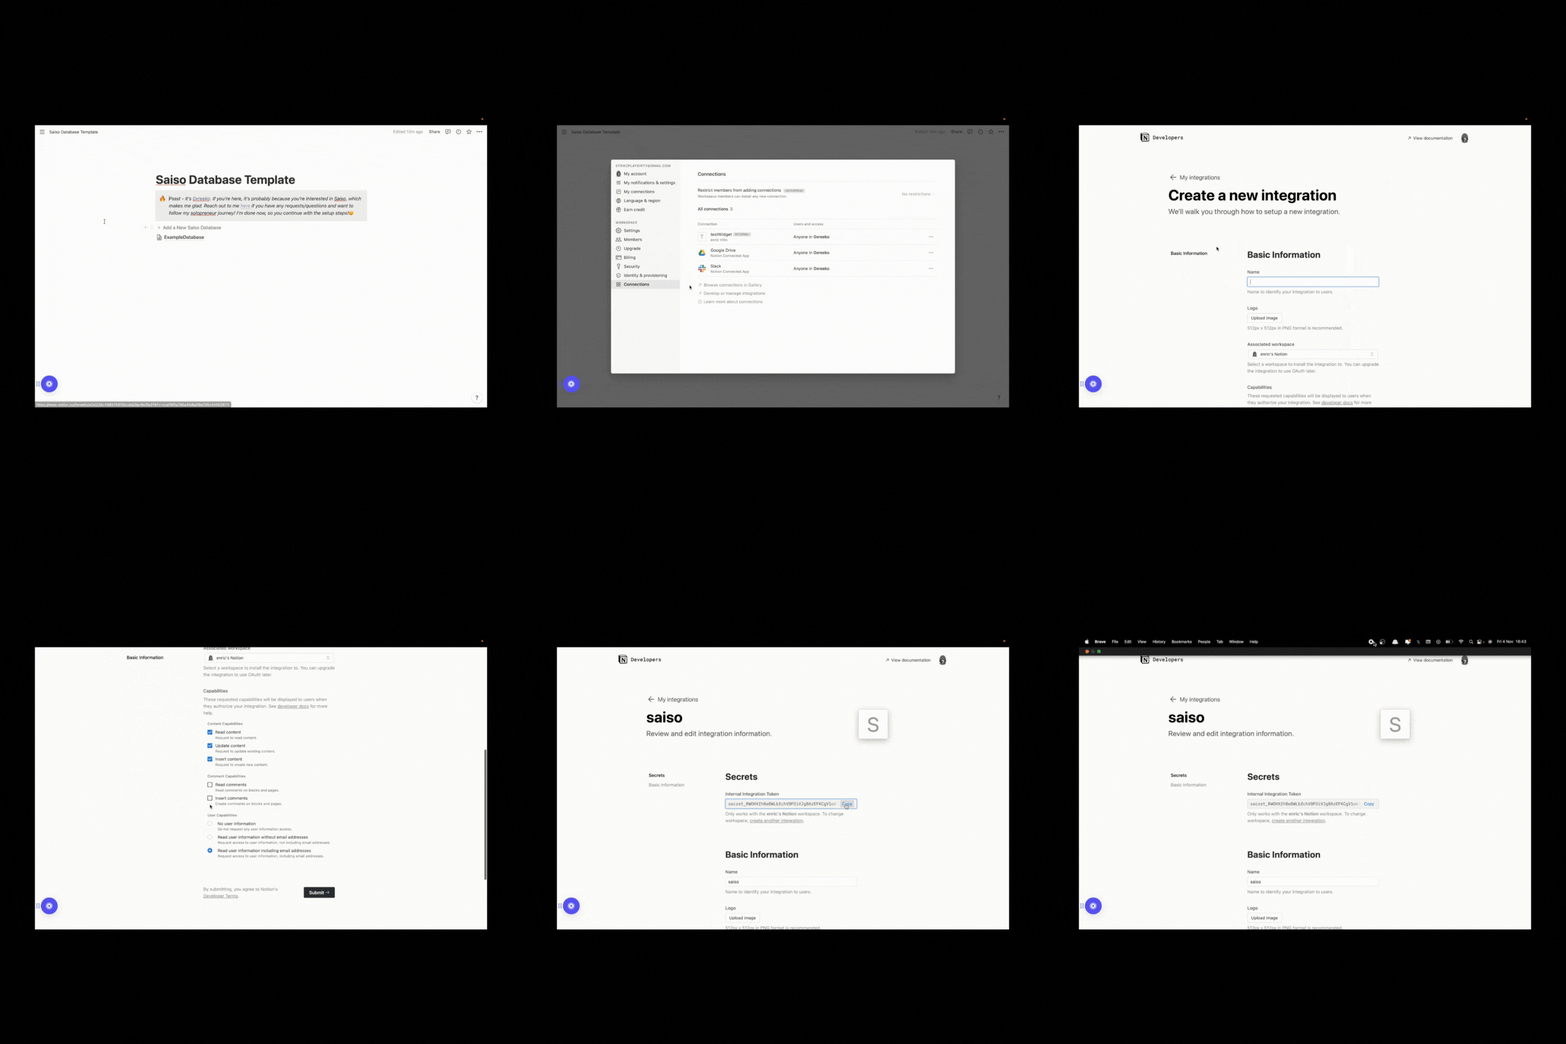
Click the Settings & Members option in the sidemenu. Navigate to Connections under Workspace, and then to Develop or manage integrations.

In the new page opened, click the New Integrations button, which will show you a form to select the characteristics of your integration. We only need to set a name, so get creative and name it to your liking! If not, you can simply name it 'saiso'. After submitting the form,

saiso step two

3. Link integration with database

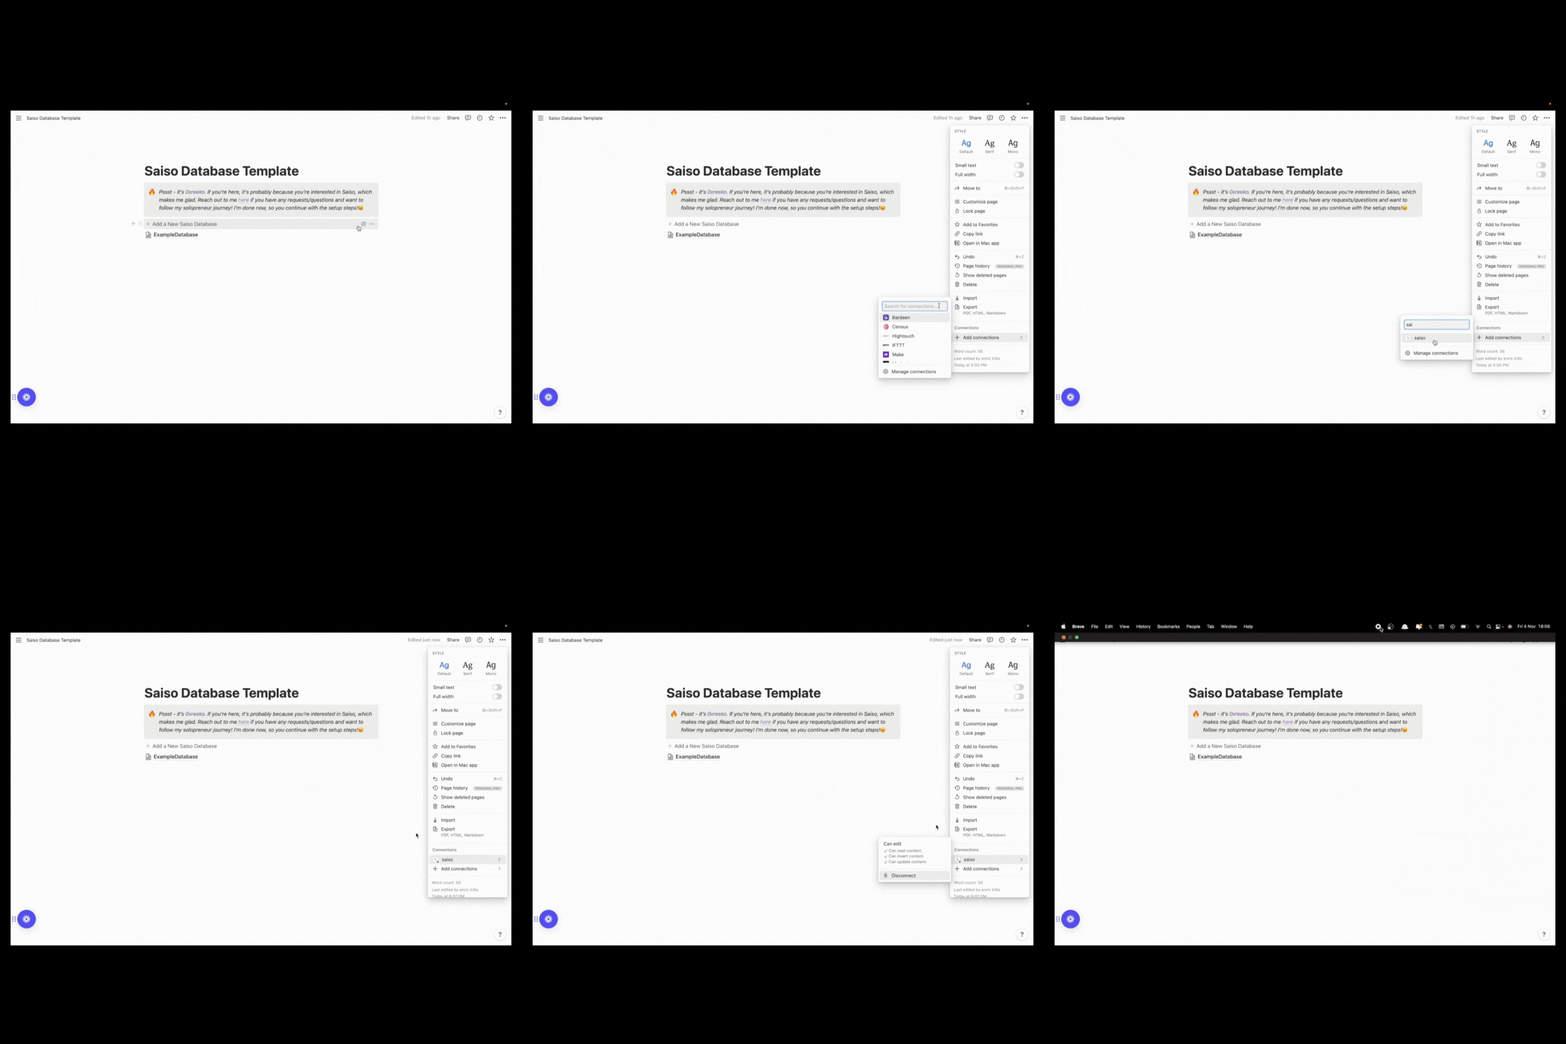
Now, we need to connect our integration with our database so that we can fetch and update data. Remember to select the workspace where your Saiso database lives in.

saiso step three

4. Install Saiso's NPM package

Now let's install the Saiso NPM package. Copy the following snippet and run it in the local environment of the project where you want to make use of it: npm i saiso  Do remember that this is a React component before continuing!

5. Saiso Time 🥳🎉

It's Saiso time! Now that the Saiso widget is installed in your project, initialise it by providing the required values. You will need to fork this repo to clone the API. You expand the APIs functionality to your liking!

If you already have API routes in your project, you can replicate the implementation in your own project. The identifier for your Notion database and the integration key should be stored secretly (ex. in a .env file).

1// Applicable in React.js + Next.js

2import { SaisoWidget } from 'saiso

3

4<SaisoWidget 

5     name="yourAppName

6     logo="yourAppLogoExternalLink

7     notionAPI="yourNotionApiUrl

8     notionDB={`${process.env.NOTION_DATABASE}`}

9     notionKey={`${process.env.NOTION_KEY}`}

10/>

© Saiso 2022, All rights reserved.

Made with 👾 by 0xreeko